
How to Clean a Bathtub Like a Pro: A Portlander's Guide
Published on February 12, 2026
A pristine bathtub can really make a bathroom feel like a sanctuary. But let's be honest, soap scum, hard water stains, and mildew can take over fast, especially with Portland's damp climate. The secret isn't scrubbing harder; it's using the right cleaner for your specific tub material, starting with a good pre-soak, and using a non-abrasive tool to get the job done. This approach gets rid of the grime without scratching or damaging the surface.
Your Guide to a Spotless Bathtub
A clean bathtub is about more than just looks—it’s a cornerstone of a healthy home. From those beautiful old clawfoots in historic Portland homes to the sleek acrylic tubs in new Beaverton apartments, every tub fights a daily battle with soap residue. Let it go for too long, and that simple wipe-down turns into a major project that feels impossible to tackle.
This guide is your professional roadmap to getting that sparkling clean finish, no matter what your tub is made of. We're sharing the same strategies our house cleaning teams use, from the must-have tools to simple DIY solutions that actually work. Whether you're doing a quick weekly tidy-up or a full deep clean service, these tips will bring back your tub's shine.
Why Proper Cleaning Matters
You're not just cleaning; you're protecting an investment. It might sound dramatic, but the global bathtub market reached $10.72 billion in 2023. Letting grime build up can shorten a tub's lifespan by up to 30% because it slowly etches away at the finish, making it vulnerable to damage. Plus, in a wet climate like Portland's, high humidity can increase mold risk by 25%, which is the last thing you want in a place meant for relaxation. You can even learn more about the bathtub market trends from Fortune Business Insights.
The goal is to work smarter, not harder. A consistent routine prevents the soap scum and hard water stains from becoming a major project, saving you time and preserving your tub’s surface for years to come.
Before we get into the nitty-gritty for different materials and tough stains, it’s a good idea to have a general game plan. Here’s a quick overview of the essential steps.
Quick Guide to Cleaning Your Bathtub
This table breaks down the basic process into a few simple actions, giving you a clear path to follow every time.
| Step | Action | Why It's Important |
|---|---|---|
| Preparation | Clear all items from the tub and rinse with hot water. | This removes loose debris and preps the surface, making your cleaner more effective. |
| Application | Apply your chosen cleaner, focusing on problem areas. | Targeting stains and soap scum directly ensures you're not wasting product or effort. |
| Dwell Time | Let the cleaner sit for 10-15 minutes. | This is the most crucial step! It allows the cleaner to break down grime, so you scrub less. |
| Scrubbing | Use a non-abrasive sponge or brush in circular motions. | Gentle scrubbing protects your tub’s finish from scratches while lifting stubborn dirt. |
| Rinsing | Rinse the entire tub thoroughly with warm water. | This washes away all the loosened grime and cleaning residue, leaving a clean slate. |
| Drying | Wipe the tub dry with a clean microfiber cloth. | Drying prevents water spots and mildew growth, keeping your tub sparkling for longer. |
With this foundational routine in mind, you're ready to tackle any bathtub cleaning challenge. Now, let’s get into the specifics for different types of tubs and those extra-tough stains.
Getting Your Cleaning Kit Ready
Before you even think about scrubbing, let's get your supplies in order. This is the single most important step. Grabbing the wrong cleaner or tool for your specific tub material can do more harm than good, and nobody wants to create a bigger problem. Think of it like cooking—you need the right ingredients and utensils for the recipe to turn out.
You don't need a whole arsenal of fancy products, either. In fact, most of the time, we rely on a few simple, effective basics for the weekly maintenance cleans we do in homes all over Portland. You probably have most of this stuff already.
Picking the Right Tools for the Job
Your goal is to get rid of the grime without scratching or dulling your tub's finish. A common mistake is using something too abrasive, like a harsh scouring pad on an acrylic tub. Those tiny scratches it creates become magnets for dirt, making your tub even harder to clean down the road.
Here are the non-negotiables for your toolkit:
- Non-Abrasive Sponges: These are your go-to for lifting away soap scum without being too aggressive.
- Microfiber Cloths: Essential for applying cleaners, but their real superpower is drying the tub afterward. A quick wipe-down prevents water spots and keeps mildew from getting a foothold.
- A Medium-Bristle Scrub Brush: This is what you'll need for stubborn grout lines or those textured, non-slip tub floors. It's tough enough to scrub but won't scratch the main surface.
- A Grout Brush (or an old toothbrush): Perfect for getting into those tight corners and really cleaning the grout around the tub.
That's it. That's your core toolkit. The market for household cleaning supplies is huge—the bathroom cleaning segment alone accounted for over 23.6% of a $34.3 billion industry. It's easy to get overwhelmed by all the options. You can read more about the cleaning supply market at GMI Insights, but sticking with these proven basics is the best way to avoid costly mistakes.
DIY vs. Store-Bought Cleaners
For most regular cleanings, a simple homemade solution is your best friend. It’s cheap, effective, and you know exactly what’s in it, which is something a lot of our Portland clients really appreciate.
Our Go-To DIY Cleaner: Just mix equal parts white vinegar and warm water in a spray bottle. Add about a teaspoon of blue Dawn dish soap, give it a gentle shake, and you're good to go. The vinegar is amazing at breaking down hard water stains and soap scum, while the dish soap cuts right through body oils and grime.
This simple mix works wonders on classic porcelain and enamel tubs. But for really tough, set-in stains or for certain materials, you might need to bring in a commercial cleaner. The key is to always read the label to make sure it's safe for your tub's specific material. A heavy-duty cleaner that works on a vintage porcelain tub in an old Lake Oswego home could be way too harsh for a modern acrylic one.
And while we don't usually recommend them for tubs, you can see our guide on how to use Magic Erasers safely on other surfaces. Having both a trusted DIY recipe and a suitable commercial product on hand means you’re ready for whatever your bathtub throws at you.
Cleaning Methods for Every Type of Bathtub
Not all bathtubs are created equal. We see it time and time again—an approach that works wonders on a classic porcelain clawfoot in a historic Portland home could easily ruin a sleek, modern acrylic tub. The first step to cleaning your tub correctly is figuring out what it’s made of. This knowledge is what separates a sparkling clean tub from one with scratches, a dull finish, or even permanent damage.
The cleaner you choose is a huge part of the equation. The global market for bathroom cleaners is enormous, projected to hit $37.479 billion by 2033, and a big chunk of that growth is driven by demand for eco-friendly options that are gentler on surfaces. Honestly, using the wrong cleaner is one of the top reasons we see damage on modern acrylic and fiberglass tubs. If you're curious, you can read the full research about bathroom cleaner market trends and see how the industry is moving toward safer products.
This simple flowchart shows you the essential toolkit we recommend for most bathtub cleaning jobs.
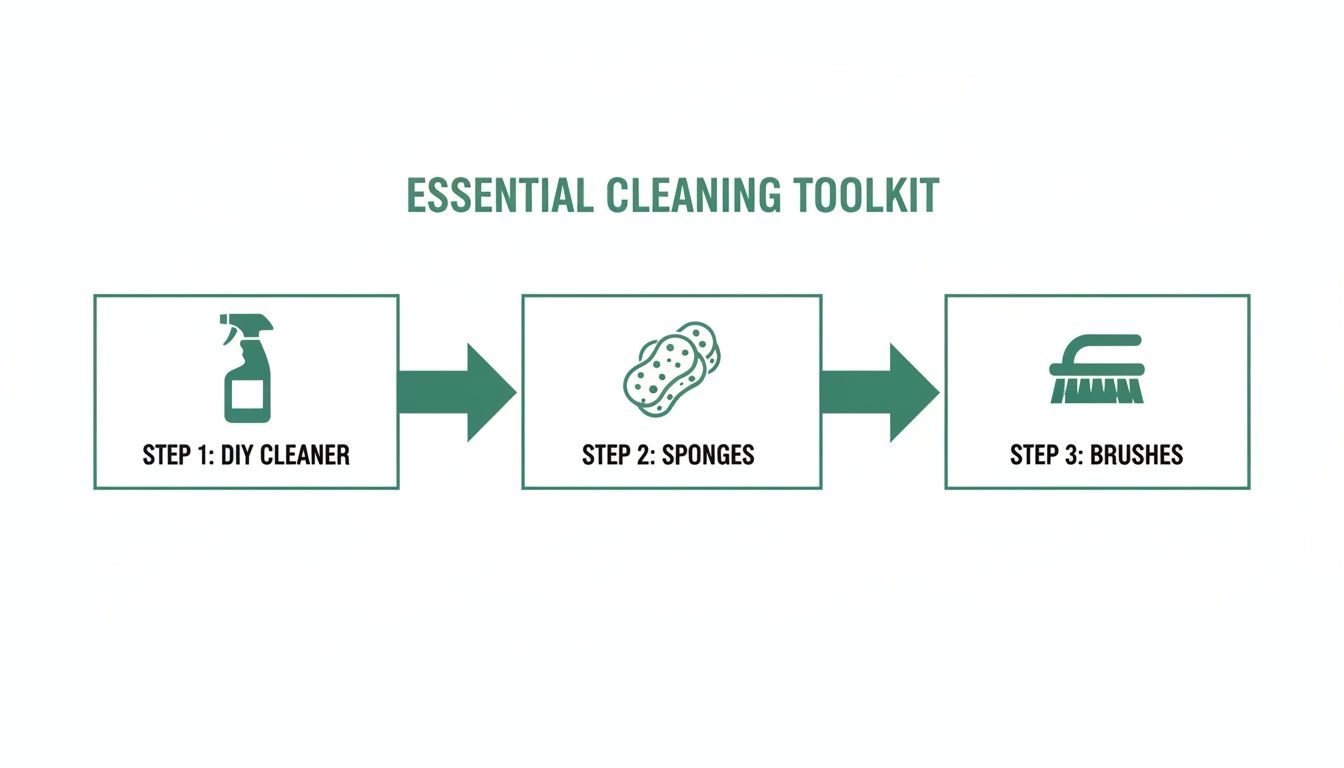
Starting with a basic DIY cleaner and the right non-abrasive tools is almost always the safest way to go, no matter what kind of tub you have.
Cleaning Porcelain and Cast Iron Enamel Tubs
Think of these as the heavy-duty workhorses. You’ll find them in a lot of older homes all over the Portland area. Their surfaces are tough, non-porous, and incredibly resistant to stains and scratches, which gives you a bit more leeway in how you clean them.
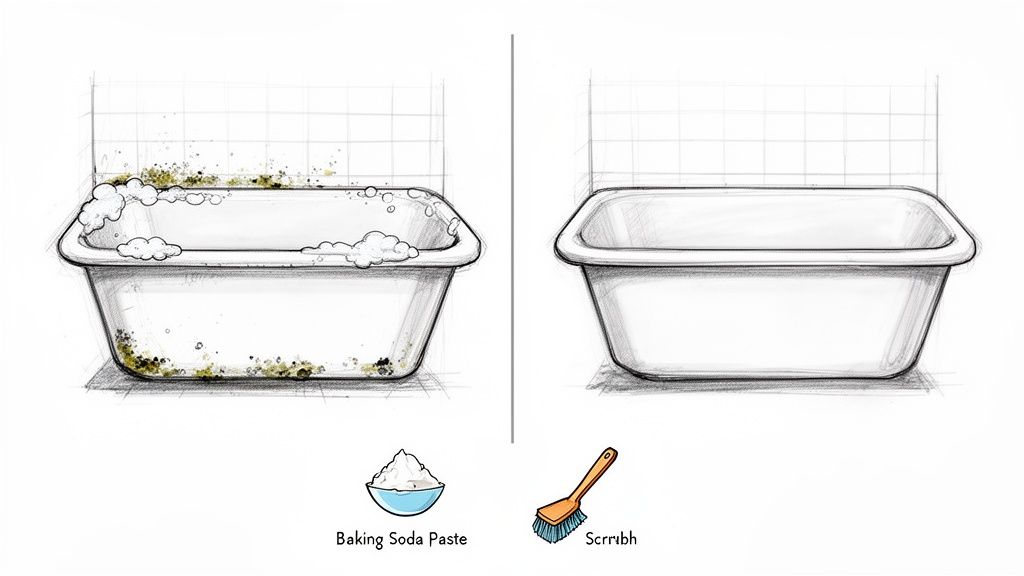
For a routine clean, our go-to DIY mix of vinegar, water, and dish soap is perfect. But when you’re facing tougher soap scum or some light staining, a simple paste of baking soda and water is your best friend. Just apply it to the problem spots, let it hang out for about 15 minutes, then give it a gentle scrub with a non-abrasive sponge before rinsing everything away.
Ready for a spotless home?
How to Clean Acrylic and Fiberglass Tubs
These are the tubs you see everywhere in newer homes and apartments, from downtown Portland high-rises to suburban spots out in Hillsboro. They’re popular because they’re lightweight and affordable, but that comes with a trade-off: their surfaces are much softer and scratch way more easily than porcelain.
The single most important rule here is to avoid all abrasive cleaners and tools. That means no scouring powders, no steel wool, and definitely no "soft scrub" products that contain tiny abrasives. Stick with gentle, non-abrasive liquid cleaners or the trusty vinegar and dish soap spray. And always, always use a soft microfiber cloth or a non-scratch sponge for scrubbing.
Pro Tip: Keep acetone and nail polish remover far away from an acrylic tub. Those solvents can literally melt the surface and cause permanent damage. If you do spill something, blot it up immediately with a damp cloth—don’t rub.
The Best Approach for Enamel-Coated Steel Tubs
Enamel-coated steel tubs are a nice middle ground. They have that durable, glossy finish like cast iron but are much lighter. While the enamel itself is quite strong, it can chip if you drop something heavy on it. Once chipped, the steel underneath is exposed and can start to rust.
You can treat these tubs a lot like porcelain, but just be a little more careful about scratching the finish. Mild, non-abrasive cleaners are always the safest option. If you have some minor stains, a paste made from hydrogen peroxide and baking soda can work wonders without being too harsh on the surface.
Matching your cleaning technique to your tub's material is how you get a truly great result while protecting your investment. This is a core principle our professional house cleaning teams live by, ensuring every surface gets the exact care it needs, whether we're doing a standard apartment cleaning or a detailed move out cleaning.
How to Tackle Tough Stains and Mildew
Even with consistent cleaning, some stains just refuse to budge. Here in the damp Pacific Northwest, it's a constant battle. We see it all the time in Portland and Beaverton homes—stubborn hard water spots, grimy soap scum rings, and that infamous pink or black mildew creeping into corners.
When your weekly spray-down just isn't making a difference anymore, it's time to bring out the bigger guns. This doesn't necessarily mean harsh chemicals, though. The trick is to use targeted treatments for specific problems, which is exactly how our deep clean service teams get such fantastic results.
Removing Stubborn Bathtub Stains
One of the biggest mistakes we see is people trying to blast away every type of stain with a single, all-purpose cleaner. It just doesn't work that way. To be effective, you have to match your cleaning solution to the stain itself.
For a surprising number of set-in stains, a simple baking soda paste does wonders. Just mix baking soda with a little water until it forms a thick paste, almost like frosting.
Apply the paste directly onto the stain, whether it's a discolored patch or a tough soap scum ring. Let it sit for at least 20-30 minutes—this gives it time to work its magic and break down the grime. Then, come back and scrub gently with a non-abrasive sponge and rinse it all away.
This method is a go-to for porcelain and enamel tubs and is always the first thing I recommend trying before moving on to anything more potent.
Conquering Mold and Mildew
Ah, mildew. It’s a common sight in bathrooms that don't get a ton of airflow. You’ll usually spot it as black dots in the caulk lines or as a slimy, pinkish film on the tub floor. It looks nasty, but it’s usually quite manageable if you catch it early.
A simple spray of equal parts white vinegar and water can knock out surface mildew pretty effectively. Just douse the area, give it about an hour to sit, and then scrub it down and rinse well.
But here’s the thing: if the mildew has worked its way deep into the silicone caulk, no amount of surface scrubbing will fix it for good. In those cases, the caulk has to be completely removed and replaced. If you’re facing a more serious situation, our guide on how to effectively clean mold in your shower has some more advanced strategies.
DIY Stain Remover Recipes
Over the years doing our home cleaning service, we've perfected a few simple DIY recipes that work just as well—if not better—than store-bought products. They're my secret weapons for tackling the most common bathtub issues.
Here's a quick cheat sheet for what to use and when.
DIY Stain Remover Recipes
| Stain Type | DIY Recipe | Application Method |
|---|---|---|
| Hard Water | Mix equal parts white vinegar and warm water in a spray bottle. | Spray directly on mineral deposits, let sit for 15-20 minutes, then scrub and rinse. |
| Soap Scum | Create a paste from baking soda and a few drops of dish soap. | Apply the paste to the buildup, allow it to dry slightly, then scrub with a damp sponge. |
| Rust Stains | Make a paste using lemon juice and salt or baking soda. | Apply to the rust stain, let it sit for an hour, and scrub gently before rinsing completely. |
These simple concoctions use ingredients you probably already have, proving you don't always need a cabinet full of harsh chemicals to get your bathtub sparkling again.
When to Call in the Pros
Knowing how to handle your own bathtub cleaning is a great skill for routine upkeep. But let's be realistic—sometimes, even the best DIY solutions and a whole lot of elbow grease just won't cut it.
There are certain situations where passing the scrub brush to a professional saves you time, frustration, and honestly, delivers a clean that’s just on another level. Life gets hectic, especially for busy families and professionals here in the Portland metro area. The problem isn’t always knowing how to clean; it's finding the time and energy to do it. When you're facing years of caked-on soap scum, stubborn hard water stains, or mildew that just won't quit, it might be time for a professional reset.
Scenarios That Need a Professional Touch
A professional house cleaning service is less of a luxury and more of a necessity in a few key situations. If you're a renter in a competitive spot like Lake Oswego or Hillsboro, you know that getting your full security deposit back often hinges on leaving the place absolutely pristine.
- Move-Out Cleaning: Landlords have exacting standards. A bathtub with even a hint of grime, soap scum, or mildew can easily lead to deductions from your deposit. A professional move out cleaning service guarantees that every nook and cranny, from the grout lines to the drain, is spotless.
- Deep Cleaning for Busy Homeowners: Sometimes, you just need a fresh start. If life got in the way and the bathroom cleaning fell to the bottom of the list, a one-time deep clean service can do the heavy lifting. We can restore your bathroom to its original glory, making it so much easier for you to maintain going forward.
- Tough, Deep-Set Stains: Rust stains that have been there for ages, hard water deposits that feel like cement, or mildew that has worked its way into the silicone caulk often require more than just a spray and a wipe. Our teams have seen it all and know how to tackle these problems without damaging your tub's finish.
The real value of bringing in a professional isn't just about getting things clean. It's about reclaiming your time and restoring your peace of mind. Our vetted and insured teams are here to handle the tough jobs so you can focus on what really matters.
Ultimately, calling a maid service is an investment in your home and your sanity. Whether you're getting a rental ready for the next tenant or just want your own personal sanctuary to feel truly, deeply clean, we have the experience and the right tools to make it happen. You can learn more about how we transform bathrooms and entire homes with our deep cleaning service and see the difference a professional touch makes.
Got Questions? We’ve Got Answers.
Over the years, our clients have asked us just about everything when it comes to keeping their homes clean. From apartments in downtown Portland to family homes in Hillsboro, certain questions about bathtub cleaning seem to pop up constantly. Here are a few of the most common ones we hear, along with our tried-and-true answers.
How Often Should I Really Deep Clean My Bathtub?
For most households, we find a good, thorough deep clean once a month is the sweet spot. A quick weekly wipe-down is great for keeping surface-level soap scum from getting out of control, but that more intensive monthly scrub is what really gets ahead of stubborn hard water deposits and stops mildew in its tracks.
Now, if you're in the Portland or Beaverton area like we are, you know how damp things get. During our rainy season, you might want to bump that schedule up to every three weeks. That little bit of extra attention makes a huge difference in preventing mildew from getting a foothold in your grout and caulk.
Is It Actually Safe to Mix Vinegar and Baking Soda?
Absolutely! This is one of our go-to DIY cleaners for a reason. It's not only safe but also incredibly effective, especially for classic porcelain and enamel tubs. That satisfying fizz you see when you mix them isn't just for show—it’s a chemical reaction that actively works to lift grime and break down stains right off the surface.
Here's a pro tip: instead of just pouring them in, make a thick paste with baking soda and a bit of water. Smear that directly onto a tough stain, let it sit for a minute, and then spray it with white vinegar. It’s a powerful, non-toxic way to get the job done without resorting to harsh chemicals.
Can I Use a Magic Eraser on My Acrylic Tub?
Please don't! We know it's tempting, but we strongly advise against using magic erasers on acrylic or fiberglass tubs. While they feel soft, they are essentially a super-fine abrasive. Using one is like taking microscopic sandpaper to your tub's finish, creating thousands of tiny scratches.
Over time, those little scratches will completely dull the surface. And the real irony? They'll start trapping more dirt, making your tub even harder to clean down the road. Stick with a soft microfiber cloth or a non-scratch sponge for these types of tubs.
What's the Best Way to Clean Bathtub Jets?
Cleaning a jetted tub is a whole different ballgame. You can't just scrub the basin; you have to flush out all the internal plumbing where bacteria and gunk love to hide. It's a critical step that many people miss.
The process is simple. Fill the tub with hot water until the jets are covered by a couple of inches. Add a specialized jetted tub cleaner, two cups of white vinegar, or a half-cup of bleach (never mix vinegar and bleach!). Then, run the jets for a full 15 minutes to let that solution circulate and do its work.
Once the cycle is done, drain the tub completely. Fill it back up with cold water and run the jets for another 10 minutes. This is the rinse cycle—it flushes out any leftover cleaner and all the grime you just loosened. We do this for every jetted tub as part of our deep clean service and recommend homeowners do it every one to three months. It’s the only way to ensure your relaxing soak is also a truly clean one.
When life gets too busy or the grime feels like it's won the battle, a professional touch can make all the difference. The team at Neat Hive Cleaning is here to restore your bathroom’s sparkle, whether you need a one-time deep clean, regular apartment cleaning, or a detailed move-out cleaning. We bring our expertise and the right tools to every job, saving you time and delivering a pristine clean you can feel.
Ready to reclaim your weekend? Visit Neat Hive Cleaning to get your free estimate and book your service online today.
Ready for a spotless home?